Project introduction
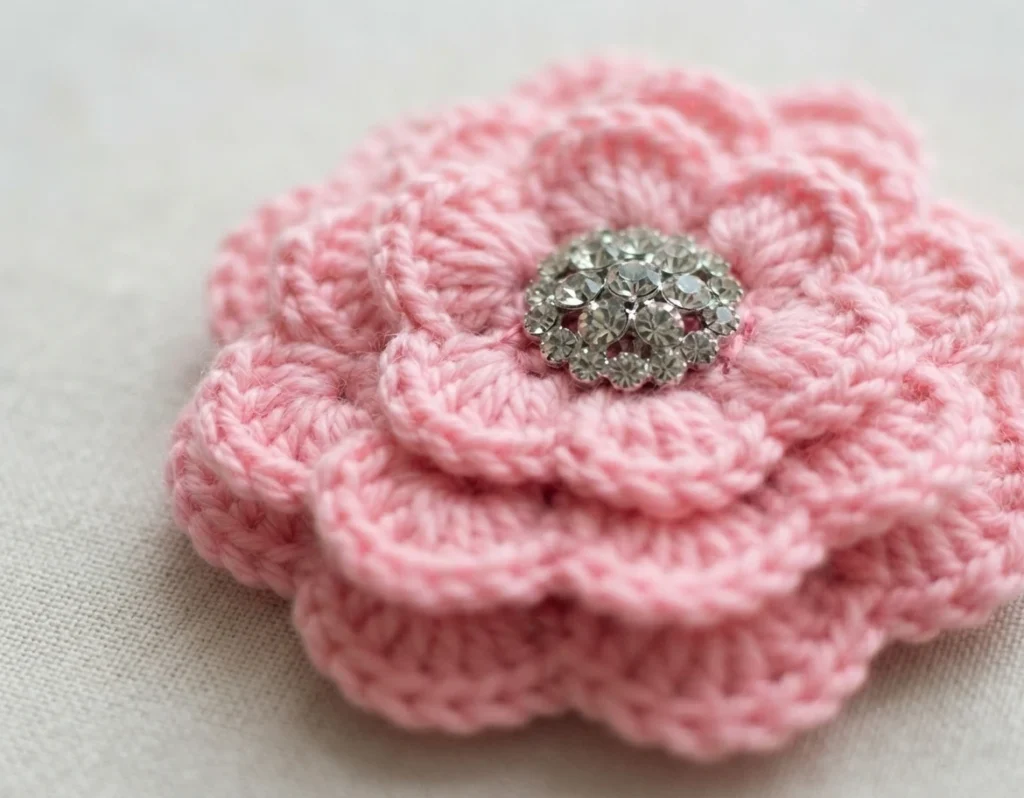


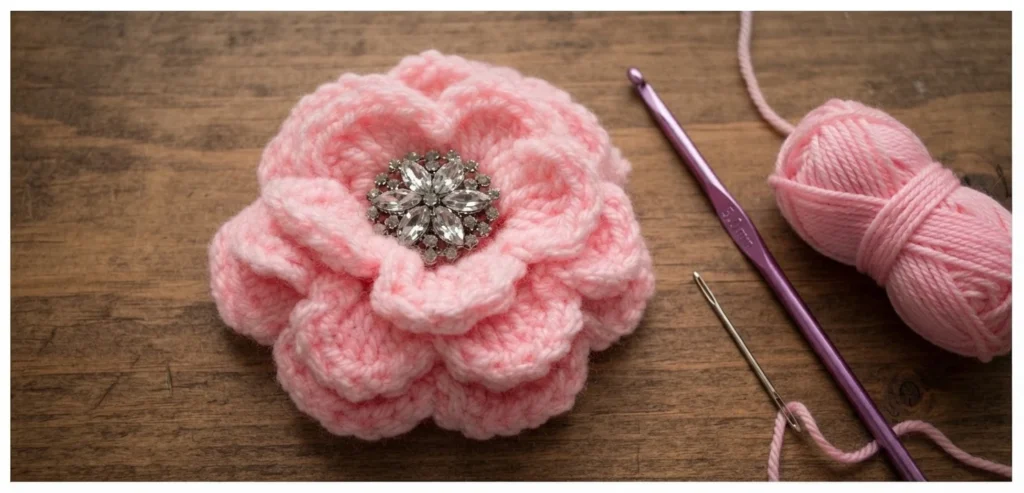


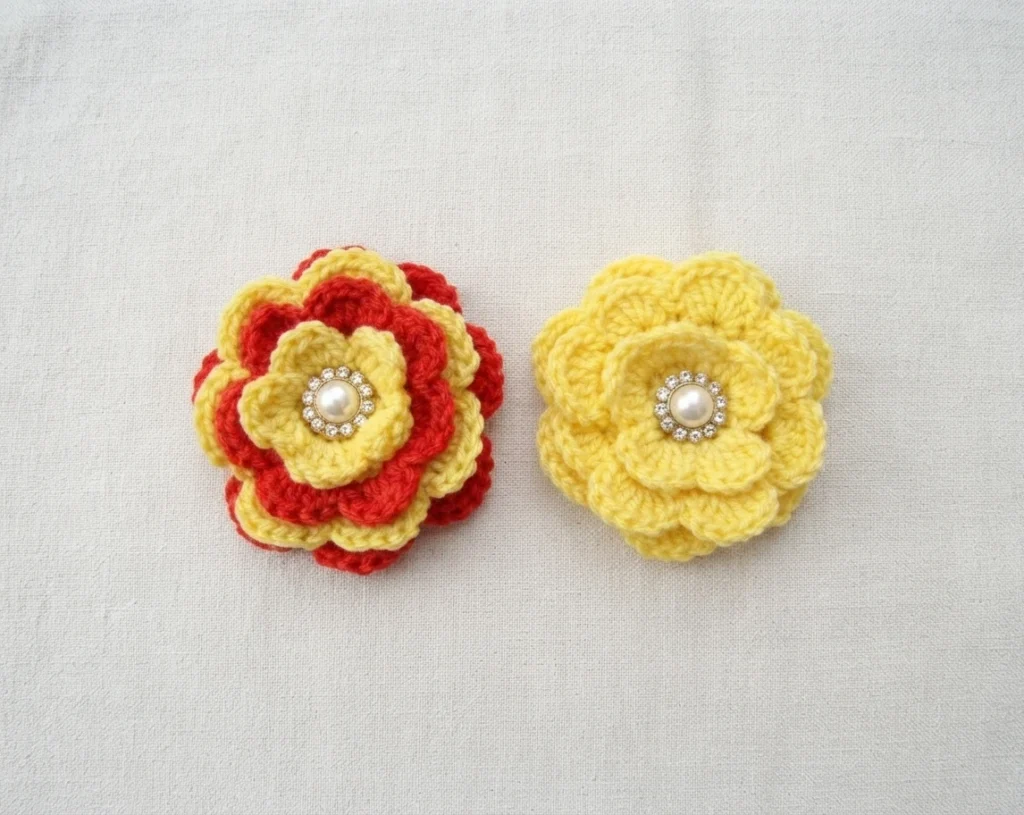
This article is a pattern overview, not a full tutorial, and it introduces Maya’s layered flower brooch from Pretty Nails and Tea. The design builds a full, dimensional flower from shell shaped petals, finishes it with a button center, and mounts it on a kilt pin with a crocheted backing. Use the overview to understand the project, check your supplies, and decide on colors before following the designer for the complete instructions.
The source presents this piece as a do all pin with many jobs around the wardrobe and beyond. Pin it to hold a scarf in place, brighten an outfit, or decorate a purse, a hat, or a headband. It can also dress up wrapped gift packaging, or become the gift itself. Its size and sturdy pin are meant to help it hold thicker fabric together securely as well.
Maya describes the brooch as really easy to crochet and as an excellent way to use leftover yarn. You can work it in one solid color for a calm, classic look, or combine colors for stronger contrast. The source also suggests changing color every other row to add dimension. That flexibility makes each flower personal, whether you match a favorite scarf, echo a hat, or use small amounts that might otherwise stay unused.
The flower uses a small set of familiar US stitches, so the overview is easy to scan before you begin. They include single crochet, double crochet, and chain stitches, plus slip stitch and front post work in the original pattern. Right side means the front of the flower and wrong side means the back, a distinction that matters because new petal layers are prepared from behind before they are worked.
For the complete steps, photos, and designer notes, start with the Original designer’s pattern and instructions on Maya’s blog. This overview does not replace that pattern and does not reproduce its row by row instructions. Reading the original first will show you how the layers build, how the back is attached, and why the work turns between front and back.
Pattern format and preparation
Before you crochet, read the entire pattern through once, as Maya advises, so the sequence feels familiar before your hook starts moving. Pay special attention to the turns, because each new layer begins on the wrong side and is then worked from the right side. Notice where color changes are offered as an option, where a layer can end the flower, and where the separate backing and pin attachment will later complete the brooch.
Gather everything before you start so the sewing and pin assembly do not interrupt the crochet. The sample used Red Heart Super Saver, but the source only specifies worsted weight yarn in a color of your choice, so check the list below against what you already own. No yarn quantity is given in the source, and none should be guessed for this scrap friendly project.
- Worsted weight yarn, color of your choice (sample: Red Heart Super Saver)
- H - 5.0 mm crochet hook
- 2.25 inch kilt pin
- A fancy button
- Thread similar in color to your main yarn, for sewing on the button
- Needle for sewing
- Tapestry needle, for weaving in ends
- Stitch marker, for marking the first stitch of each round on the backing
The flower begins from a small ring with chain spaces that support the first shell petals. That first layer has five petals, made by skipping selected spaces so the shape stays rounded. Later preparation rounds use front post stitches on the wrong side to create fresh spaces, then larger shells form a second layer of seven petals and a third layer of seven petals. An optional fourth layer repeats that sequence.
Finishing gives the brooch its neat front and secure back. Weave in the ends, then sew the fancy button into the center of the flower with matching thread and the sewing needle. Separately, crochet a small round backing in rounds from an adjustable loop, also called a magic ring in the source. That backing is sewn over the inside of the kilt pin at the base of the last petal layer.
The pattern is presented as free on the designer’s blog, and Maya asks readers who want to share it to do so by linking to that blog post. That free access statement covers the web pattern as presented in the source, so do not assume that other formats are free unless the designer says so elsewhere. Use the original for exact instructions and this overview for preparation.