
Project introduction


This pattern overview introduces the Forest Fairy hood, a soft pixie bonnet inspired by woodland settings and magical creatures. It is an easy design for a modern baby, with a gentle pointed shape and a warm lined interior for cold weather wear.
For complete instructions, see the Original designer’s pattern and instructions from Malloo Knits, the source behind this overview. Its ties add a charming finish, worked in loose slip stitches through the front loop only, creating a soft textured cord rather than a stiff ribbon.
How to get this crochet pixie hat Pattern Overview

The free version is on the designer’s page, while an ad-free PDF for easy printing is paid, so the formats are distinct. It is sold through Etsy and Ravelry shops, with a copy also listed for Lovecrafts, and the Wooly Stitches Club offers the entire Malloo pattern library for one small yearly fee.
Puff stitch tutorial


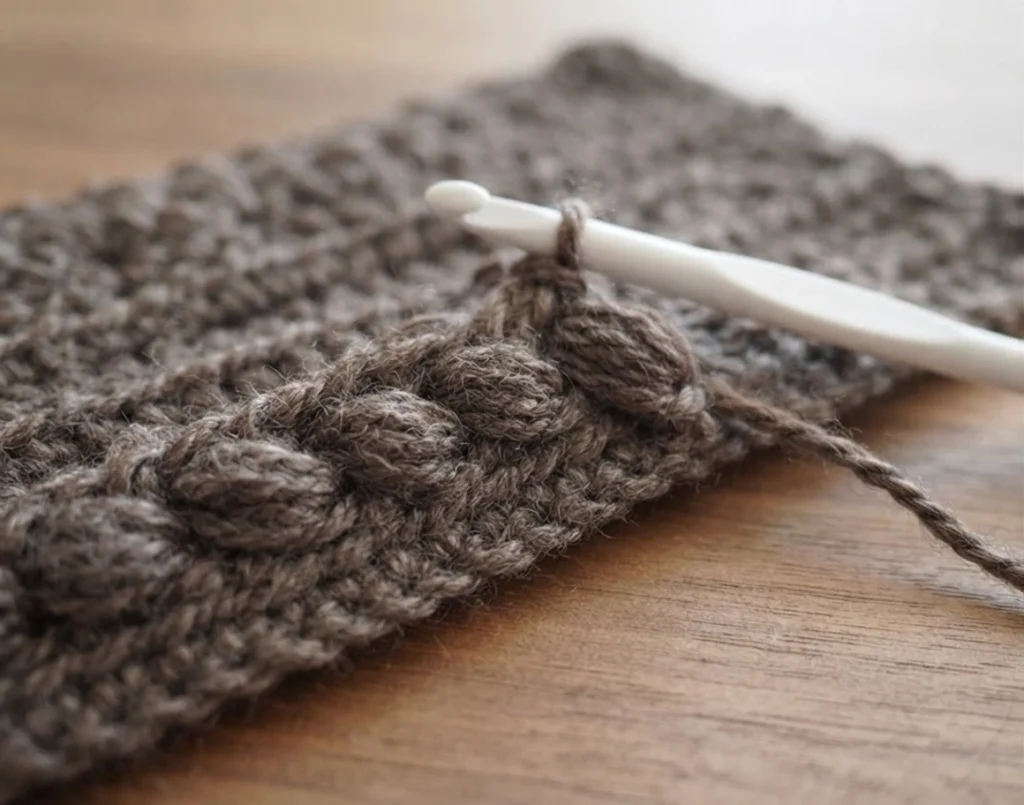
The puff stitch gives this hood much of its texture. Loops are drawn up repeatedly until nine loops rest on the hook, then all loops are pulled through together to form one soft, raised stitch. A chain one follows the finished puff and keeps the spacing clear for the next part.
Tip no.1

Placement matters in the braid section, because a puff in the wrong place changes how the textured band reads. The first tip highlights the correct position for the puff stitch in the second row of the braid, so check that placement before moving on to the next row.
Tip no.2
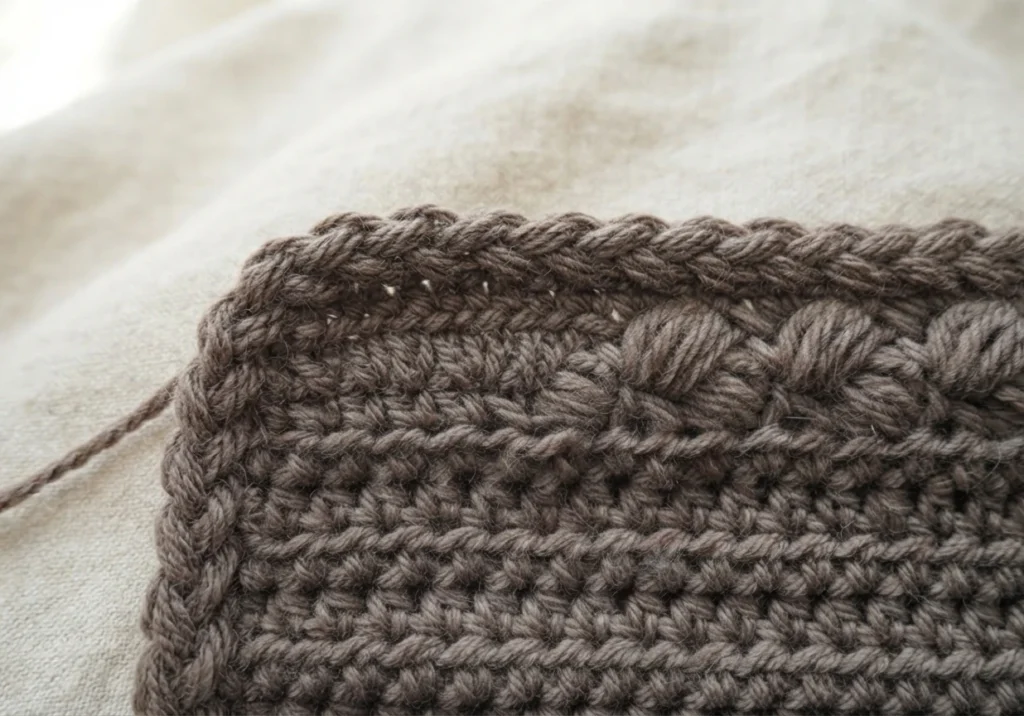
The first row of half double crochet after a braid does not appear at the same point for every size. Depending on the size, that row is first seen on row 6, 7, 8, or 9, so a smaller hood may show it sooner than a larger one.
Tip no.3

Reverse single crochet, also called crab stitch, moves in the opposite direction from ordinary crochet. For right-handed makers, that direction is left to right, creating a neat, corded edge that frames the hood without pulling the fabric out of shape.
You will need
Gather everything before you start, and check yarn labels and hook sizes against the original pattern so the finished hood matches the intended gauge and drape. The checklist below covers the complete supplies named in the source, with both hook sizes and their metric equivalents.
- 4-medium worsted yarn
- La Mia Natural Wool for the main color
- Drops Air for the contrasting color
- US I/5.50 mm crochet hook
- US H/5.0 mm crochet hook, or the size needed to obtain gauge
- Yarn needle
- Scissors
Yardage
Yardage varies by size and color, so choose your size first and check both columns before buying yarn. The ranges below are source estimates for the main color and contrasting color, in meters and yards, from newborn through child for each size.
| Size | Main color | Contrasting color |
|---|---|---|
| Newborn | 70-85 m (76-92 yds) | 50-60 m (54-65 yds) |
| 3-6 mo | 95-110 m (103-120 yds) | 75-85 m (82-92 yds) |
| 6-12 mo | 115-130 m (125-142 yds) | 95-105 m (103-114 yds) |
| 12-24 mo | 130-145 m (142-158 yds) | 110-120 m (120-131 yds) |
| 2-5 yrs | 150-165 m (164-180 yds) | 120-130 m (131-142 yds) |
| Child | 160-175 m (174-191 yds) | 130-140 m (142-153 yds) |
Gauge
Gauge keeps a hood fitting as intended, so make a small swatch before beginning the full piece. In this pattern, 13 stitches and 11 rows measure 4 inches in half double crochet, giving a clear target for tension. If your swatch differs, adjust hook size to match.
Abbreviations

The list below covers stitches, repeats, and color labels used throughout the design, so keep it nearby while following the original instructions. A foundation row, a decrease, and the main and contrasting color labels are especially useful when moving between outer hood and lining.
- R: row
- fhdc: foundation half double crochet
- ch(s): chain(s)
- hdc: half double crochet
- sc: single crochet
- dc: double crochet
- FO: fasten off
- hdc2tog: half double crochet two together
- st(s): stitch(es)
- MC: main color
- CC: contrasting color
Head size measurements

Head size, rather than age alone, is the best guide for choosing a size, because children’s head sizes can vary quite a bit. Measure around the head, compare the result with the table below, and select the closest matching size from newborn through child.
| Size | Head circumference |
|---|---|
| Newborn | 13 inches (33 cm) |
| 3-6 mo | 14-15 inches (35.5-40.5 cm) |
| 6-12 mo | 16-17 inches (41-45.5 cm) |
| 12-24 mo | 17-18 inches (43-48 cm) |
| 2-5 years | 18-19 inches (46-51 cm) |
| Child | 19-20 inches (48-53 cm) |
Newborn
The newborn version, worked with a US I/5.50 mm hook, begins with a foundation half double crochet row of 34, or a chain of 35 worked in half double crochet across. Plain sections alternate with puff stitch bands, and the piece finishes with reverse single crochet before fastening off.
3-6 months

The 3-6 month size, worked with a US I/5.50 mm hook, begins with a foundation row of 43, or a chain of 44 worked in half double crochet across. Plain half double crochet sections balance puff stitch sections, and a reverse single crochet edge finishes the piece neatly.
6-12 months
The 6-12 month version, worked with a US I/5.50 mm hook, begins with a foundation row of 46, or a chain of 47 worked in half double crochet across. Half double crochet sections give smooth structure, while puff stitch bands add warmth and raised pattern, ending with reverse single crochet across.
12-24 months

The 12-24 month size, worked with a US I/5.50 mm hook, begins with a foundation row of 49, or a chain of 50 worked in half double crochet across. Plain half double crochet combines with puff stitch patterning as the panel grows, and reverse single crochet completes the edge before lining.
2-5 years
The 2-5 year size, worked with a US I/5.50 mm hook, begins with a foundation row of 52, or a chain of 53 worked in half double crochet across. Plain half double crochet provides a stable base, while puff stitch bands keep the woodland texture central as the piece gets larger, finishing with reverse single crochet across.
Child
The child size, worked with a US I/5.50 mm hook, begins with a foundation row of 55, or a chain of 56 worked in half double crochet across, making it the widest version. Its main fabric uses plain half double crochet alongside puff stitch patterning, finishing with reverse single crochet across before fastening off.
Inner layer (all sizes)


The inner layer, worked with a US I/5.50 mm hook, is made for all sizes and turns the hood into a warmer double layer piece. With the hood wrong side up, yarn is attached at the bottom in the front loops only, and the first lining row is worked in half double crochet through those loops. When folded, the lining should stop just below the reverse single crochet row.
Crochet pixie hat assembly


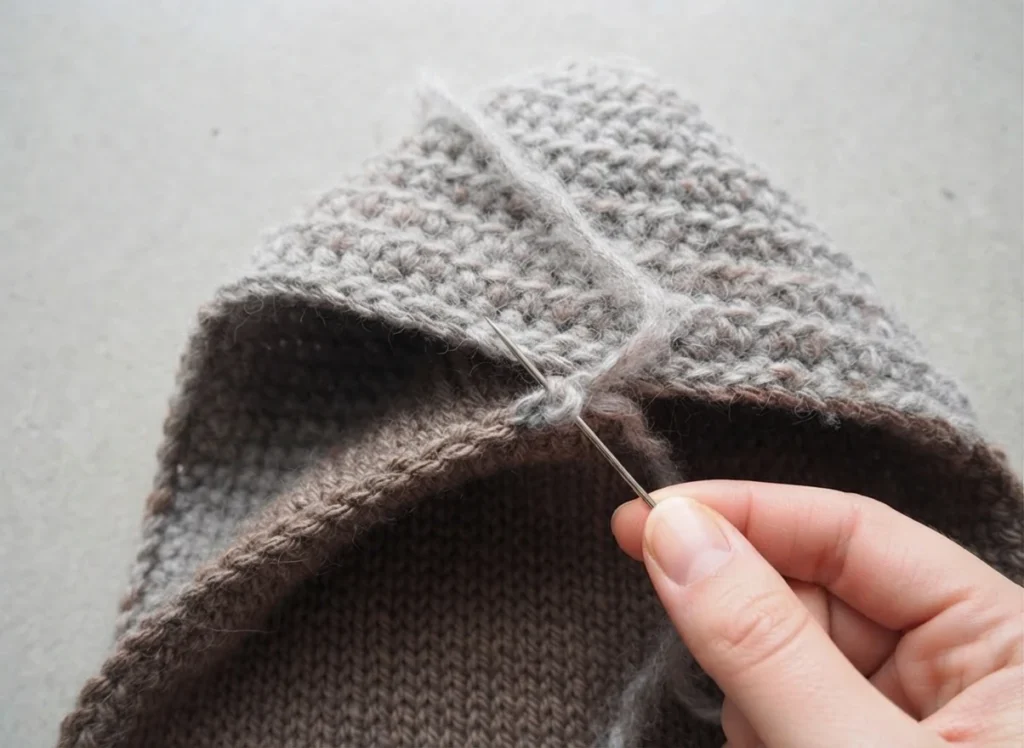
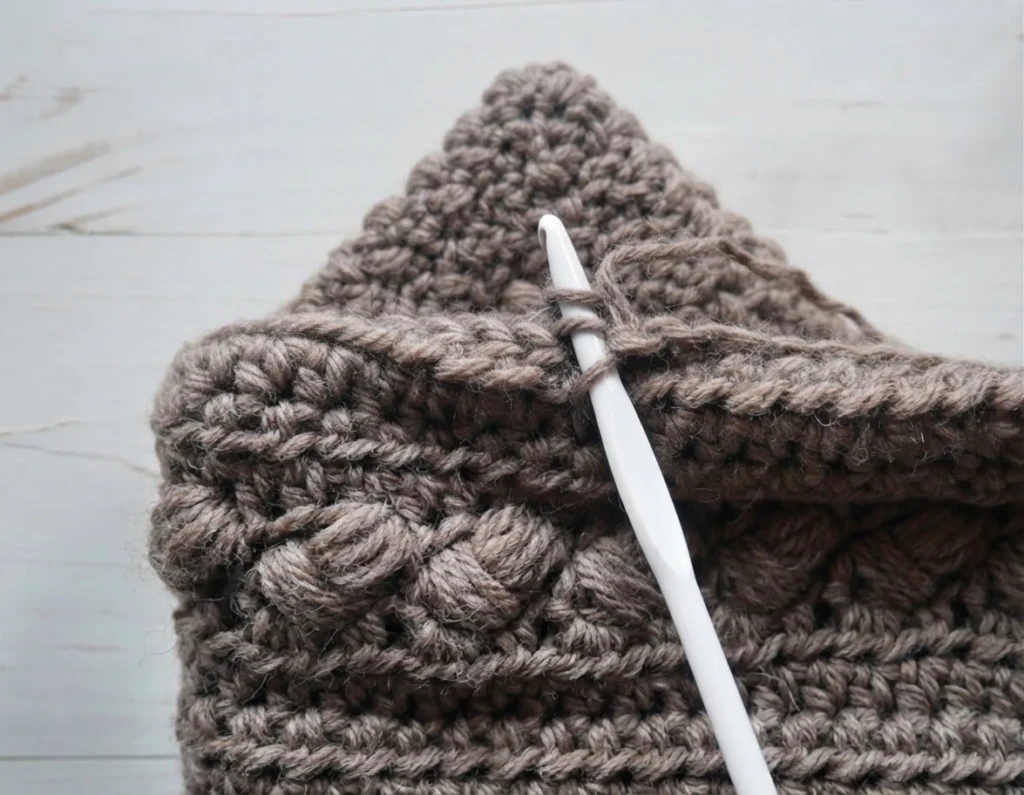

Assembly begins by leaving a long tail for sewing only the upper part of the lining to the hood, keeping stitches discreet on the right side. The hood is folded lengthwise with the lining inside, and the back is joined with single crochet using the main color and a US H/5.00 mm hook. Single crochet across the bottom through both layers then secures the lining sides.
Ties


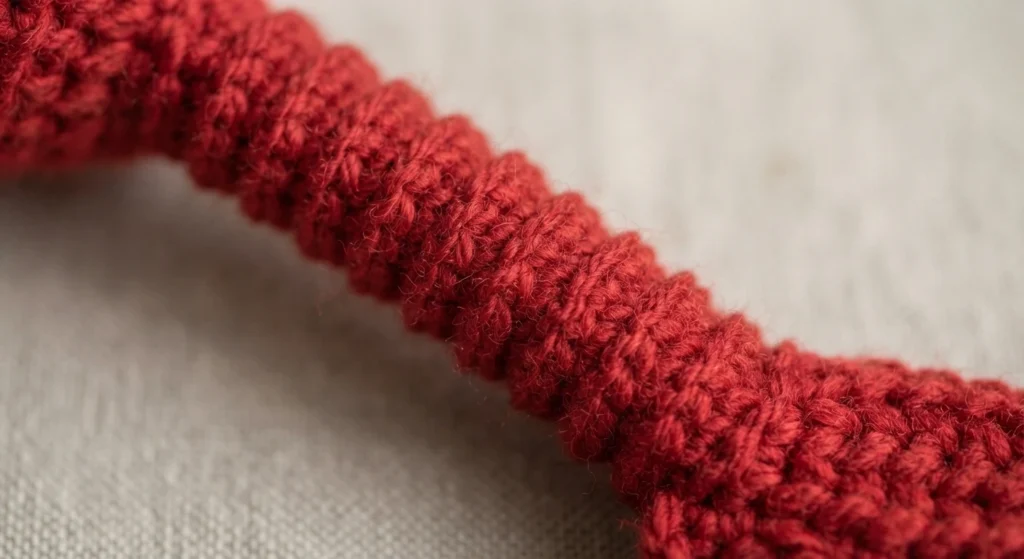
The ties, worked with a 5 mm hook, are two matching cords later sewn onto the hood. Each tie is worked until it measures approximately 6, (7, 7, 7, 8, 8) inches across the size range, or until it reaches a length chosen by the maker.


