
Project introduction
This overview belongs with bird themed amigurumi, and it focuses on one small character with a notably long neck. The project is presented as a charming little goose that can travel with you, rather than as a large display piece. Readers who enjoy animal amigurumi will find the shape, the separate small parts, and the simple finishing steps easy to picture before they begin.
Amigurumi long-necked goose Pattern Overview
This is a pattern overview, not a complete step by step tutorial, so it explains what the project includes and how its parts fit together. The free design creates a long necked goose that works well as a handmade bag charm. Its head, neck, and body form one continuous piece, which gives the bird its graceful silhouette. The finished size will vary with the yarn and hook you choose, so makers can aim for a petite charm or a slightly larger companion.
Design and photographs are credited to Kauri Art, and translation is credited to Amiguroom Toys. For the full designer instructions, follow the Original designer’s pattern and instructions. That page remains the authority for the detailed stitches, and this overview is meant to help you decide whether the project suits your skill level and supplies.
Gather everything before you start so the small parts and finishing stay smooth. The source checklist below covers yarn, hook, eyes, adhesive, tools, and stuffing, including the contrasting yarn used for the beak and legs. Check that your hook feels comfortable with your chosen yarn, and keep a needle handy for closing and sewing.
- YarnArt Jeans, 55% cotton and 45% acrylic, 50 g/160 m
- Hook size 2.0-2.5 mm
- Orange yarn for the beak and legs
- Black half beads for eyes
- Fabric glue
- Tapestry needle
- Scissors
- Fiberfill
Free crochet long-necked goose Pattern Overview
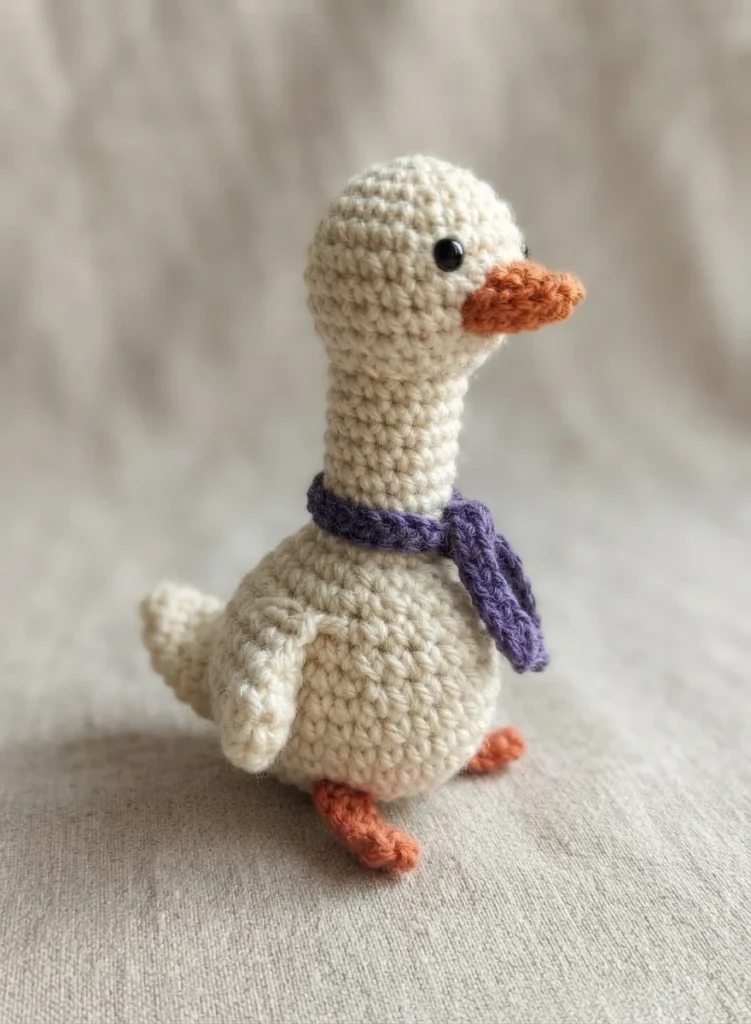
The main section begins with the body, continues through a long unstuffed neck, and ends with the head, so the whole central shape stays connected. Stuffing goes into the body and later into the head, while the neck stays soft and flexible. Closing the head through the front loops only gives a neat finish at the top. This connected approach also means you do not need to join a separate neck later.
Separate pieces add character without complicating the main shape. Make two wings and two legs, plus a tail, a beak, and a scarf. The tail uses turning rows that gradually narrow, while the wings combine several stitch heights to suggest a feathered edge. A contrasting yarn distinguishes the beak and legs from the main body, and each piece leaves a long tail for sewing, which makes assembly easier to control.
For finishing, sew the beak to the head and attach the legs and wings to the body, then glue the eyes onto the head. Take time to position the wings evenly and check the beak placement before the glue sets. If any step feels unclear, return to the original designer page for the exact wording, rather than guessing at a stitch or join. That careful check keeps the finished charm tidy and balanced.


2 thoughts on “Amigurumi long-necked goose: Pattern Overview”