Project introduction
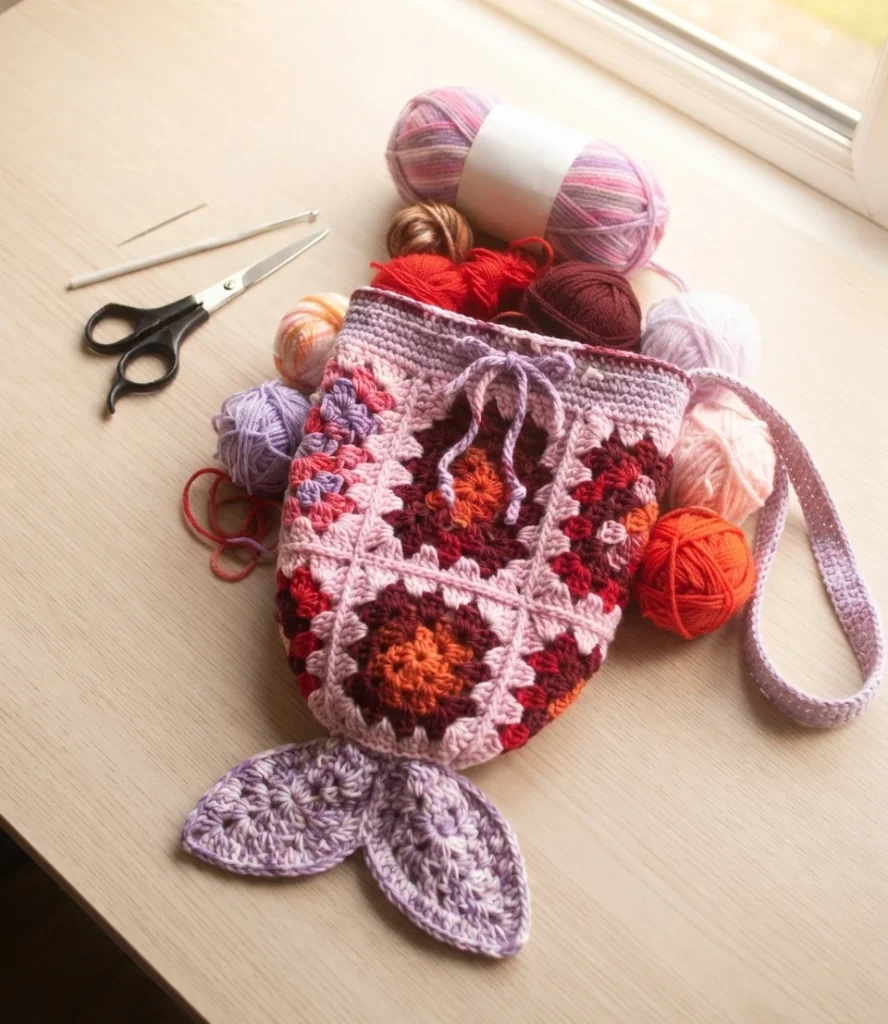


This article is a pattern overview, not a full tutorial, for a playful bag built from classic granny motifs and shaped to suggest a mermaid or fish tail. Designed by Farrah Hodgson, the project turns four squares and two triangles into a wearable tote with fins, a top border and a strap. For the complete directions, see the Original designer’s pattern and instructions.
The idea grew from Hodgson’s smaller mermaid tail gift bags. After another maker enlarged that gift bag design, she explored a larger bag that her daughter could enjoy, rethinking the tail shape in granny squares instead of working it as one solid piece. That change made the project far more flexible and stash friendly.
Both sample bags lean into color grouping rather than a single purchased palette. One version gathers green toned scraps, while the other uses pink tones, showing how related shades can unify leftovers from different projects. Thinner sport and lightweight yarns in the samples were held double to approximate the worsted weight body the designer wanted.
Because the motifs do most of the shaping work, the concept stays approachable. The source lists the skill level as Easy, and notes that the format feels closer to a guided tutorial than a rigid pattern. Crocheters who already know the basic granny square may find the construction photos especially clear once they visit the original post.
The finished size is listed as custom, which is central to the appeal. There is no gauge to match, so makers estimate as they work and decide how large each motif should become. Measured from opposite ends in diamond orientation, the width of one square becomes the width of the bag, giving a simple visual way to plan scale.
Pattern format and preparation
Preparation is deliberately open ended, so gather what you already own before buying anything new. The source gives a short supply list and leaves yarn choice to the maker, provided the hook suits the yarn selected. Use this checklist for the main bag, and check the original directions for any project specific notes before starting.
- Yarn: any yarn, with scraps combined to reach a worsted weight in the sample
- Crochet hook: a hook to match your yarn, the designer used a 5.00mm/H hook
- Yarn needle: for sewing in ends
That freedom affects every preparation decision. A larger hook and thicker yarn will grow the motifs faster, while finer yarn will produce a smaller result at the same round count. The designer also notes a tiny example made with crochet thread and a 1.5mm hook, which shows the range possible, not a separate required supply set for the standard bag.
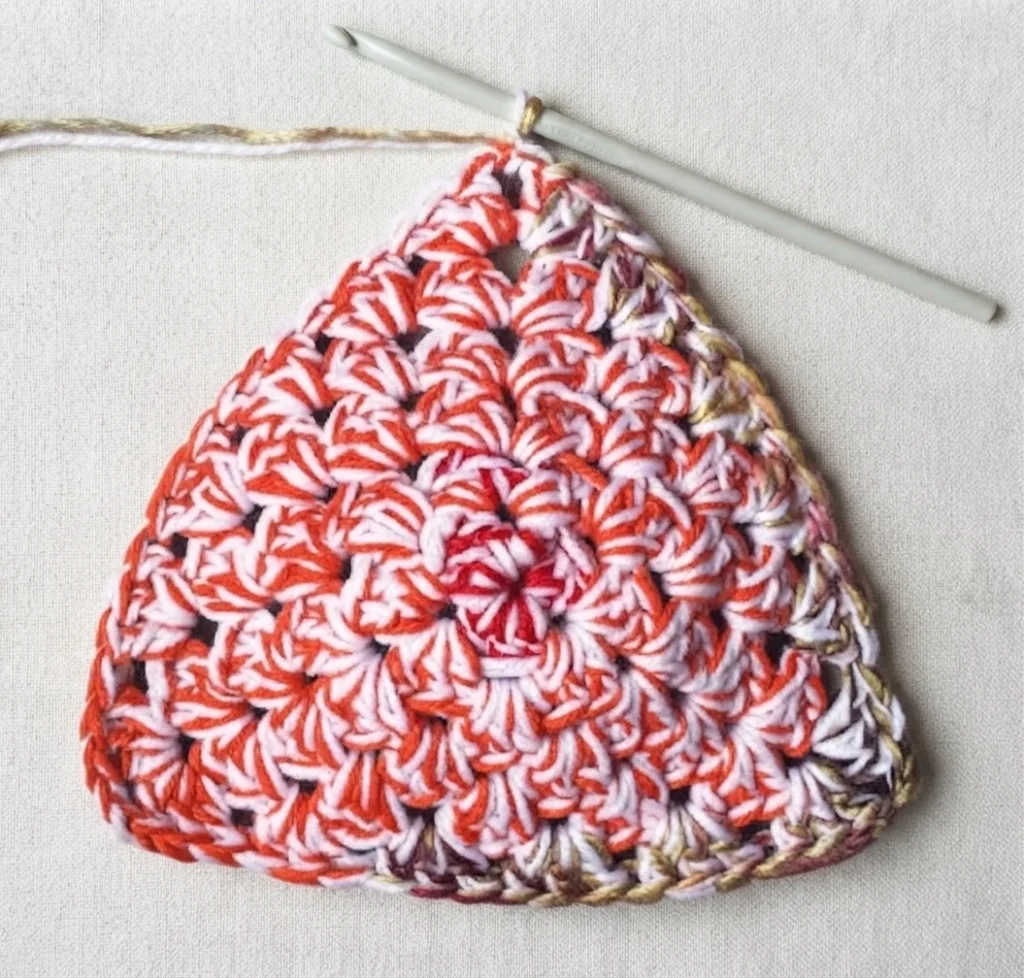
Construction begins with four granny squares that must match each other in size. Add rounds for a larger bag or omit rounds for a smaller one, keeping all four consistent so the seams and proportions line up. Two granny triangles form the fins, and each triangle is worked to one round fewer than the squares, such as six rounds when the squares have seven.
The fin edge is optional and can be left plain or finished as shown in the source, with front loop stitches along two sides and a small looped edging, leaving the third side unworked for joining. For assembly, the squares on the sides of the bag are folded in half, then all pieces are sewn together to form the tail silhouette.
Finishing centers on the top edge, the closure and the strap. A single crochet border is worked around the top, with ties created at the center of both sides in the sample, although a button, clasp or another closure can be used instead. A separate strap is sewn to the top at both ends, then all remaining ends are sewn or woven in.
Access is straightforward to describe from the source. The pattern is presented as a free crochet pattern on the designer’s site, and this overview directs readers there for the row by row instructions rather than reproducing them here. Do not assume every possible format is free, because the source access note supports the free pattern itself, not additional formats.
If granny motifs are the draw, two related overviews on this site make useful next reads for different home and wearable projects. Explore the Crochet Bandana Pattern: Granny Square Bandana Pattern | Swool Nordic Design: Pattern Overview for another wearable use of the motif, or the Crochet Granny Square Pillow: Pattern Overview for a home project built around similar squares and thoughtful color placement.