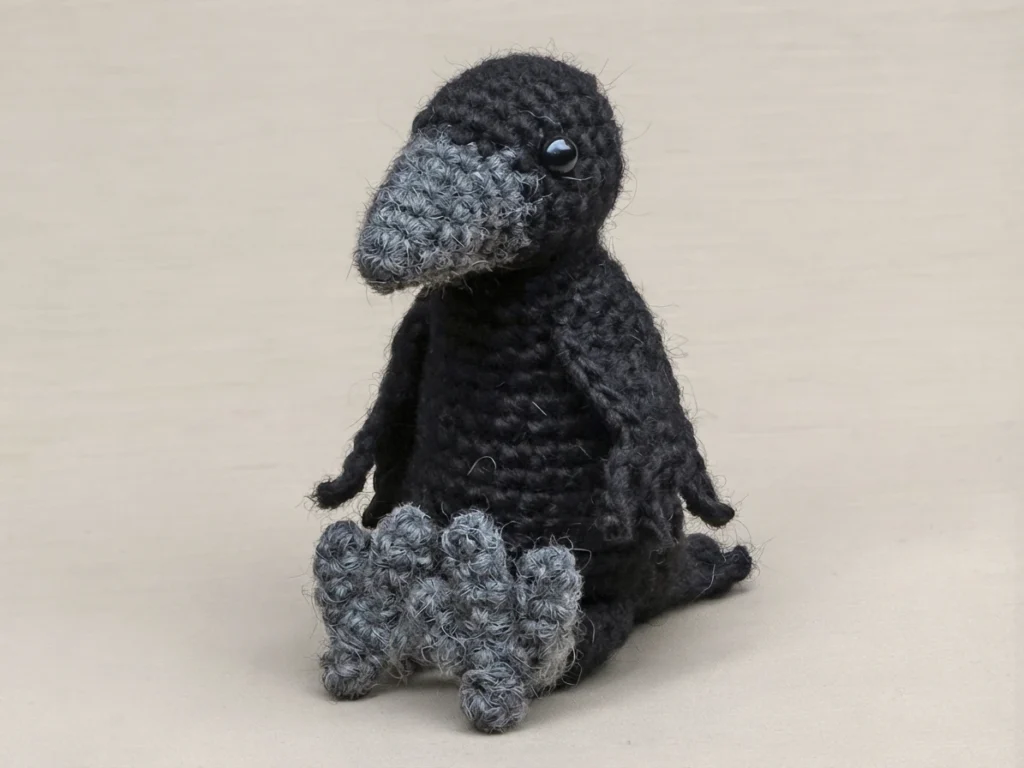
Charmander - Free amigurumi Pattern Overview
This article is a pattern overview, not a full tutorial. It introduces a free Charmander amigurumi from Crochet Cache, described as Charizard’s younger form and as the fire type starter many gamers choose. The source presents this version as cute and huggable, made for a Pokemon fan, and invites makers to share finished results by tagging @CrochetCacheCA on social media.
For the complete step by step instructions, use the Original designer’s pattern and instructions from Crochet Cache. This overview explains the project structure, supplies, construction order and assembly points in original language, so you can decide what to prepare and what to expect before following the designer’s own pattern for every round and row.
**All yarns are in Weight 4 - Medium / Worsted
All of the main yarns are listed as Weight 4, Medium or Worsted. The sample colours and lines are orange in Bernat Premium, almond in Bernat Premium, cherry red in Red Heart Super Saver, white in Red Heart Soft, and bright yellow in Red Heart Super Saver. Keep the colours separate by part, because orange forms most pieces, almond forms the stomach panels, and red and yellow return in the tail flame.
- Orange, Bernat Premium
- Almond, Bernat Premium
- Cherry Red, Red Heart Super Saver
- White, Red Heart Soft
- Bright Yellow, Red Heart Super Saver
Abbreviations
The pattern uses US terminology and a compact abbreviation list. Reading it before you start helps the later sections make sense, especially where shaping combines increases, decreases and colour changes in the same piece. The fixed definitions are retained here in the designer’s terms.
- Rnd(s): Round(s)
- Row(s): Row(s)
- sc: Single Crochet
- dc: Double Crochet
- inv dec: Invisible decrease
- dec: Decrease
- inc: Increase
- dc inc: Increase but with double crochets
- blo: Back loop only
- cc: Colour Change, followed by the colour
- sl st: Slip Stitch
Additional Materials
Beyond the main yarns, gather the finishing supplies listed by the source before you begin. The checklist below combines those additional materials with the marker and hooks named in the tips, so nothing practical is scattered across the overview. No yarn quantities are given in the retained source, so none are added here.
- Black Aunt Lydia’s Crochet Thread, Fashion 3 (1 Super Fine)
- Blue, white and black felt
- 3.5mm crochet hook
- 4.5mm crochet hook, listed in the tips
- Bent yarn needles
- Scissors
- A marker for the beginning of rounds or rows
Tips
The designer’s tips focus on tracking, tension and stuffing. Use a marker to keep track of the beginning of rows, and work the toy with tight stitches to help keep the stuffing from showing through. When you stuff shaped areas, add extra stuffing around increases so those details stay defined. The tips list a 4.5mm hook, while the materials list a 3.5mm hook, so check the original pattern for which hook applies to each part.
Use Policies
The pattern may not be redistributed, sold or claimed, in whole or in part, as your own design. Finished products made from it may be sold when credit is given as Pattern by Crochet Cache on a social platform other than Facebook, Instagram or Twitter, and as Pattern by @CrochetCacheCA on those three platforms. The designer notes that the character is not licensed by them, states no ownership of Charmander, and identifies Charmander as property of the Pokemon franchise and of Nintendo.
Head & Body
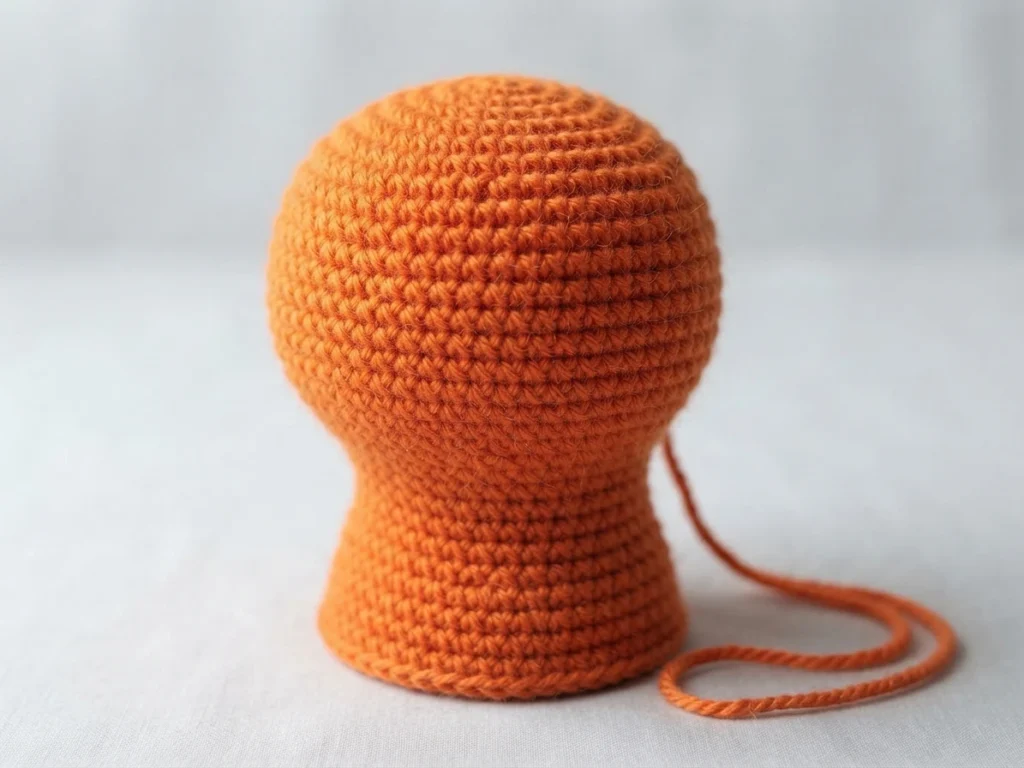


The head and body are made as one combined piece in orange, worked in rounds from a magic circle. Increases shape the head first, invisible decreases narrow it, and a distinct neck bend stage separates the head from the body portion. The head is stuffed at one stage and the body is stuffed later, before the piece is stitched closed using the front loops, tied off, and the tail woven through the body.
Tail

The tail is a separate orange piece worked in rounds from a magic circle and shaped gradually with increases. Some rounds combine single crochet and double crochet, which changes the texture and outline as the tail grows toward its wider end. It finishes with a slip stitch and a long tail left specifically for attaching this piece to the body during assembly.
**Make Six Orange**

These six small orange pieces are the fingers. Each one starts with a magic circle, is worked for a few short rounds into a narrow shape, and ends with a slip stitch and a tail left for later joining. Making all six first keeps hand construction simpler, because the fingers are then connected as a group rather than being made one at a time during the arm rounds.
Right Hand / Arm


The right hand and arm are worked in orange, beginning as a small piece before the separate fingers are joined. Crocheting along part of each finger connects them into a hand, and an additional finger is lined up as a thumb. Shaping rounds then continue into the arm, which ends with a slip stitch and a long tail left for attaching it to the body.
Left Hand / Arm
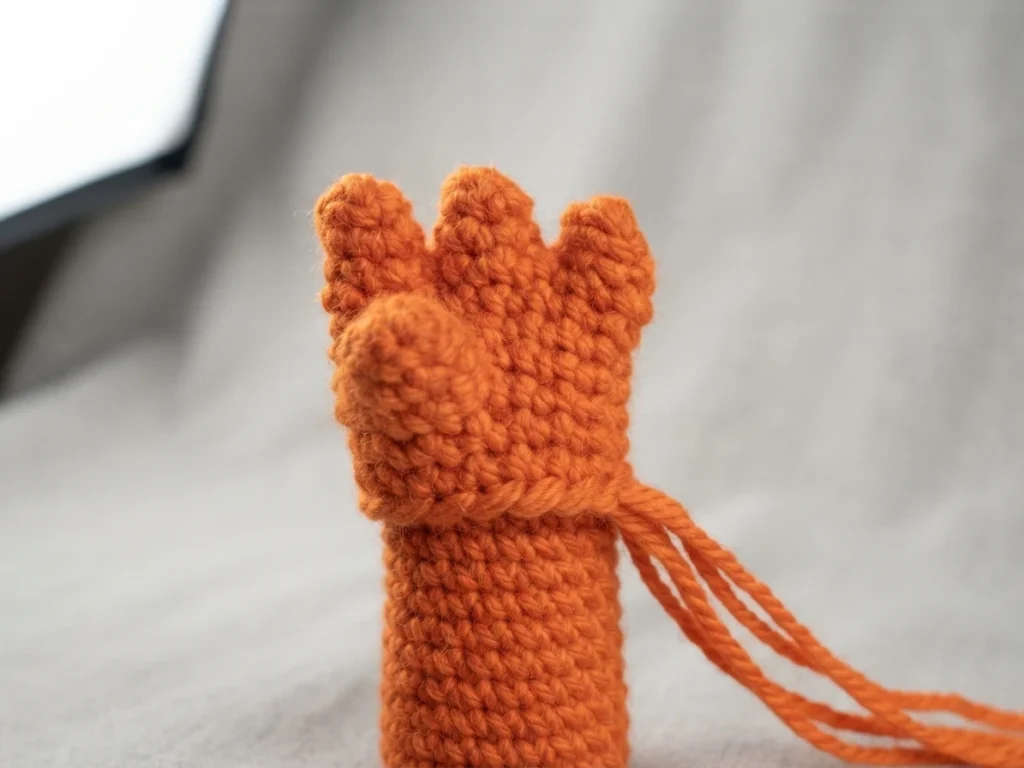

The left hand and arm mirror the right side in orange, with the same approach of joining separate fingers to form the hand and positioning another finger as a thumb. The thumb placement differs from the right hand, which is what gives each arm its correct side. After shaping rounds form the arm, the piece ends with a slip stitch and a long tail for body attachment.
Stomach
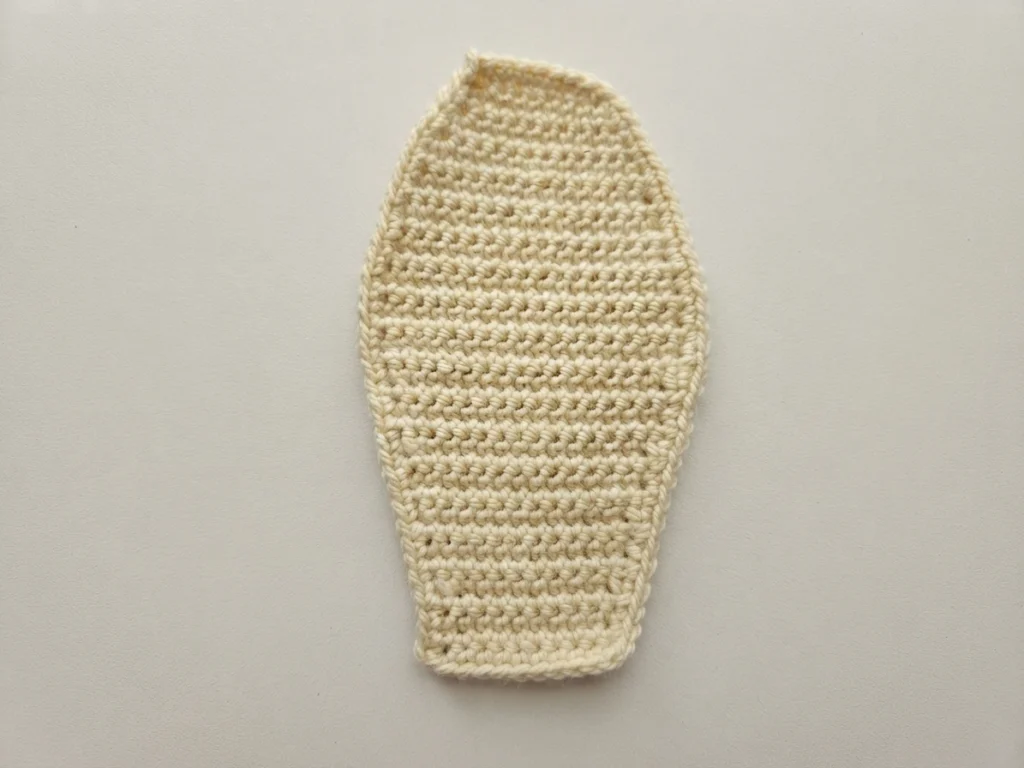
The stomach is a flat almond panel, unlike the rounded pieces around it. It starts with chain 9 and is worked back and forth in turning rows, with increases widening the outline in the first part and decreases narrowing it later. When the panel is complete, crochet goes all around the outside edge, and a long tail is left so the finished panel can be sewn onto the body.
Stomach/Tail Extension

This second flat almond piece extends the stomach toward the tail. It begins with chain 11 and is worked in turned rows that narrow steadily as the piece progresses. At the end, single crochet is worked around the outside edge, a slip stitch finishes the panel, and a long tail is left for sewing the extension to both the body and the tail.
**Make Two**
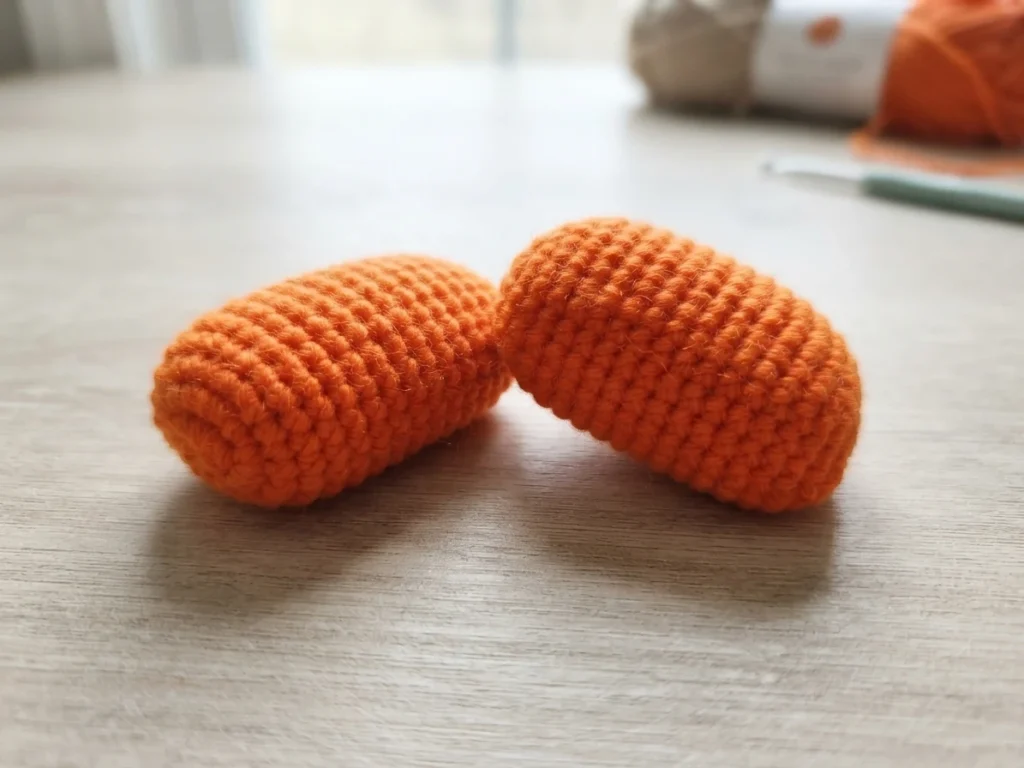
Make two of these orange pieces for the feet. Each foot starts with chain 9, then work continues around the back of the chain to create a rounded base before continuing in rounds with shaping. At the end, the remaining six stitches are closed, the tail is secured and fed through, and any extra is snipped. Keeping the pair matched in size will help the finished figure sit and stand evenly.
**Make Six**

Make six small white toe pieces, three for each foot. Each piece starts with 4 single crochets in a magic circle, is worked in short rounds, and finishes with a slip stitch and a long tail for attaching it to a foot. The source numbering for these rounds jumps, so follow the original pattern directly for that sequence rather than assuming a correction.
**Make Two**

Make two orange leg pieces. Each begins by leaving a long starting string, then chain 21 is joined into a loop with a single crochet into the first chain. Rounds shape the leg first, followed by a turned row section, including a step the source notes for the left side only. The opening is edged with single crochet, and a long tail is left for attaching the leg to the body.
Assembly


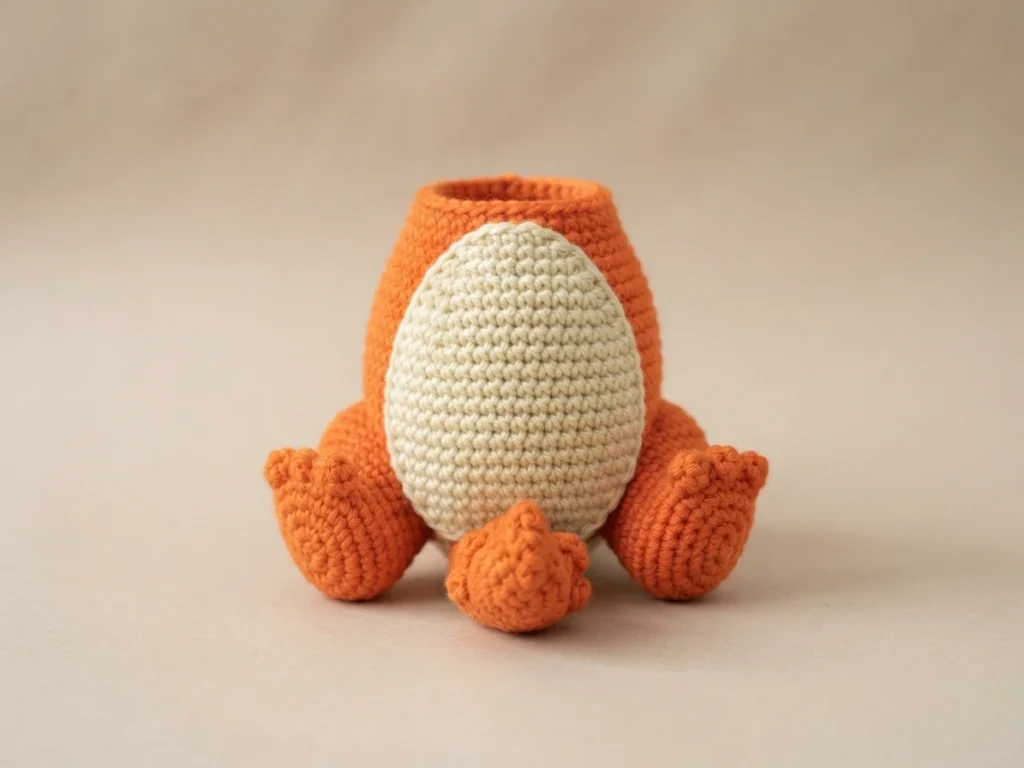


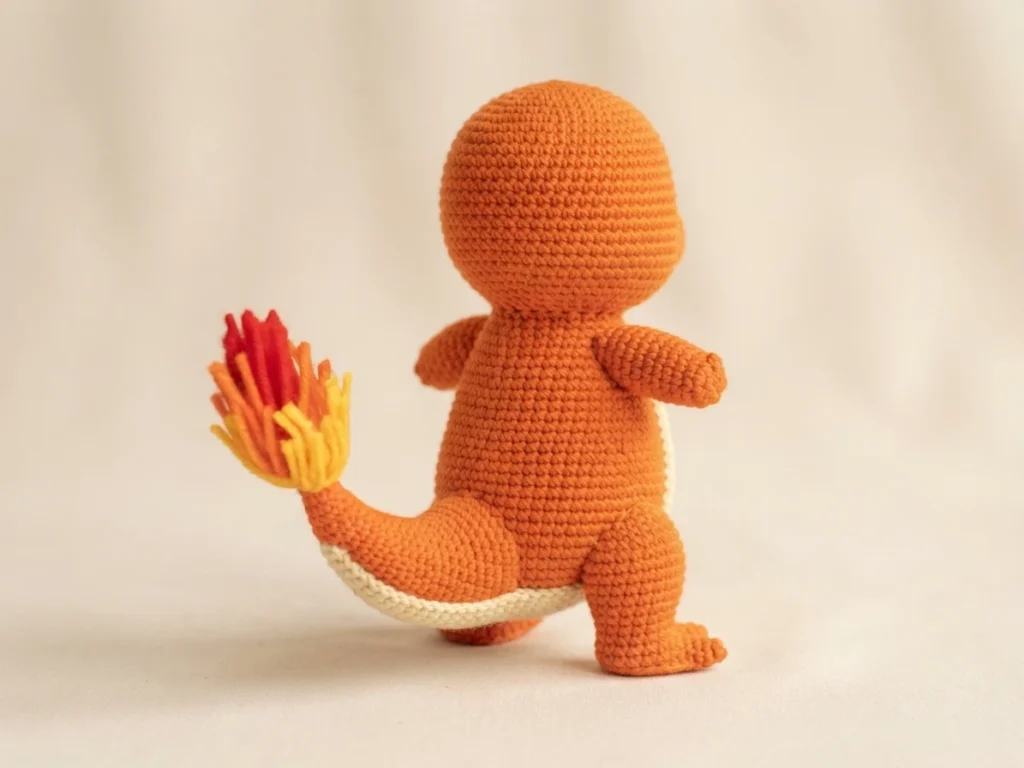


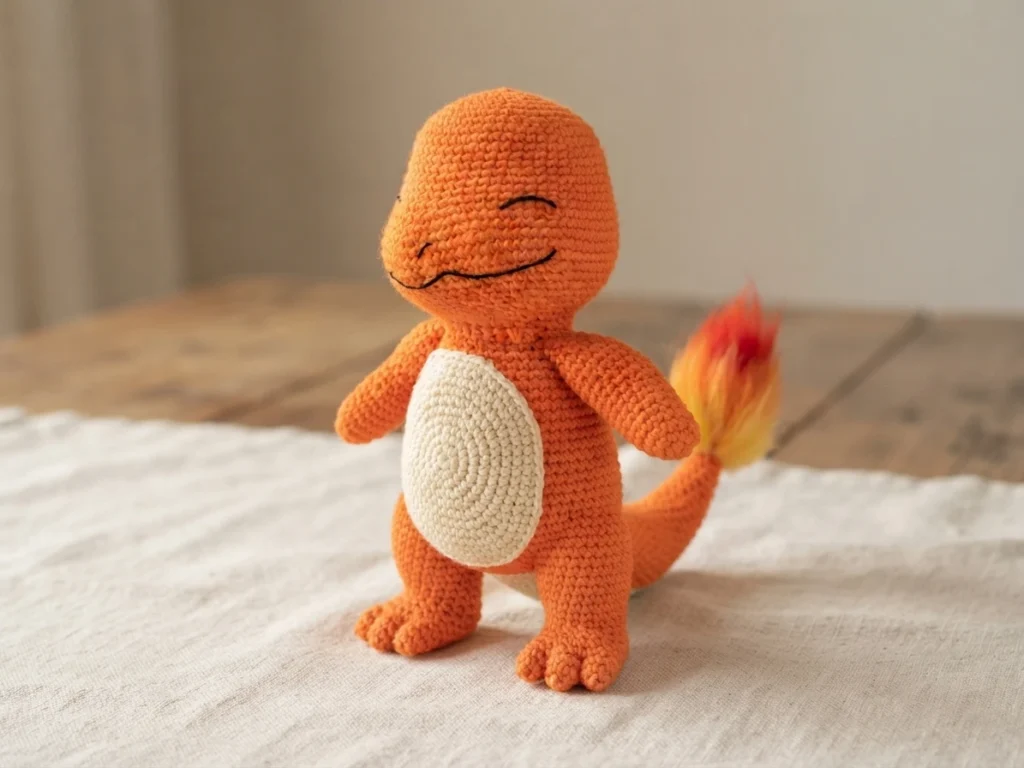

Assembly is where the separate pieces become recognisably Charmander. Attach the arms just a little lower than the neck line, adjusting the angle if you want them more forward facing. Place the stomach under the neck with its more rounded end toward the head. Align the legs to the edge of the stomach, using pins to hold the alignment while stitching, connect the legs to the feet, and place the tail at the lower back, just above the end of the stomach, with its tip pointing up.
The stomach and tail extension overlaps the tail at the bottom of the stomach, and three toes go at the end of each foot, aligned evenly.
The flame gives the tail its finish. The source uses about 10 pieces of red yarn about 5 inches in length, and yellow and orange at 16 pieces about 4 inches in length, folded and attached from red at the tip through orange to yellow down the tail, then separated with a pet wire brush and brushed until fluffy. Details follow with a mouth stitched in crochet thread and felt eyes attached with hot glue, as the designer did in the sample.
Conclusion


The finished project is the fire starter Pokemon, Charmander, built from a combined head and body, flat stomach panels, joined finger hands, paired feet and legs, and a brushed yarn flame. The designer invites questions, asks makers to tag them on social media with results, and notes the legs were redone 3 times or so before the final version felt right. That history is a useful reminder to pin, check placement, and adjust before stitching pieces firmly in place.
For related amigurumi reading, see Amigurumi Crochet Pattern: Furlston the Frog: Pattern Overview and Pchan Amigurumi - Crochet Pattern - Ami Amour: Pattern Overview.